2. Populating the Database
In order to populate (and update) the content on the DHRI curriculum website using the live data from GitHub, there is a simple two-part process. This app has been built with support to:
- mirror all the data from the DHRI Curriculum; and
- ingest the data into the database.
The two sections below should cover the process in general, and also provides link to more detailed information if you want to dig deeper into the process.
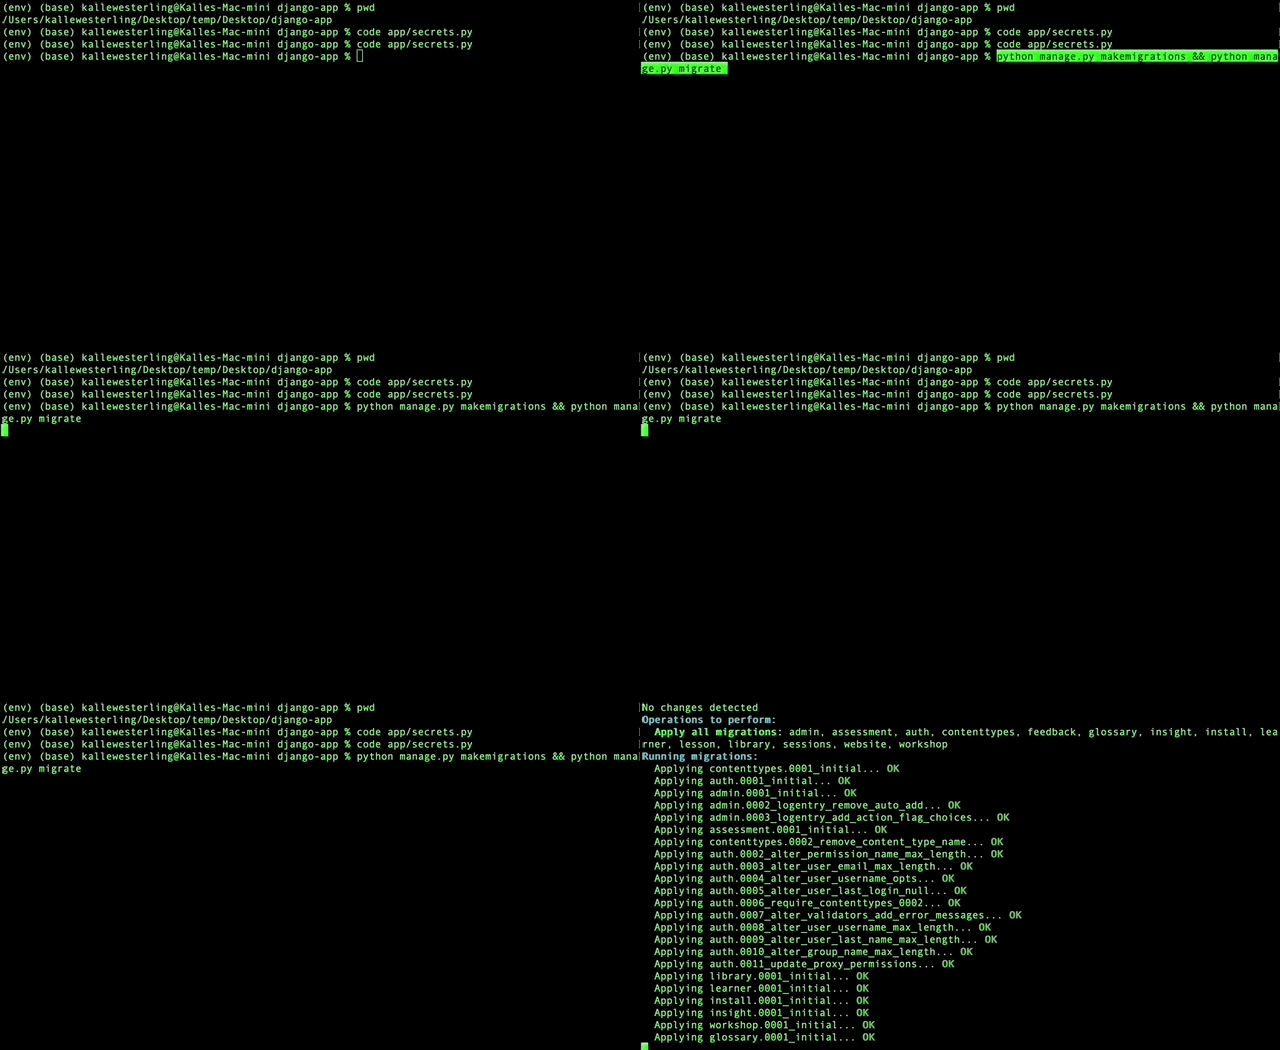
If your database is not yet set up, you will need to first set up the database by running two commands from Django's built-in management script. To make the process smoother, you can comine both on the command line by joining them using &&:
1 | |
That should tell you which migrations that will run, and then proceed to run the migrations:

1 2 3 4 5 6 7 | |
Step 1. Mirror the live data: build
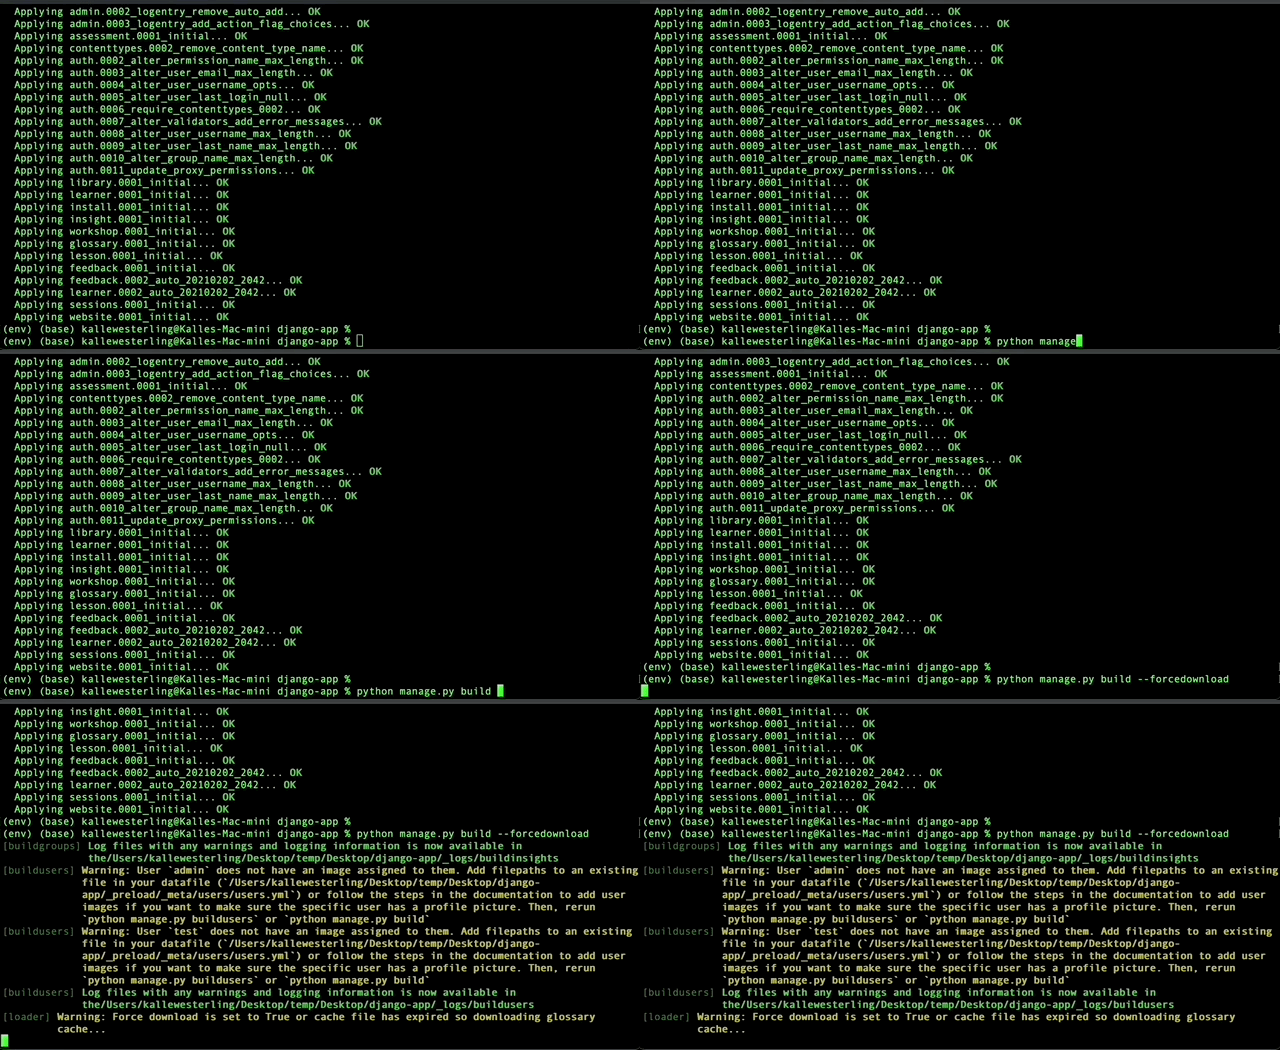
Next, we want to make a mirrored copy of all of the data that lives in the GitHub repositories related to the DHRI curriculum. We can do so with the build shortcut command:
1 | |

This will take some time—up to several minutes—so get yourself a cup of coffee. You're doing well!
The build command should create a local "mirror" of all the GitHub repositories related to the DHRI curriculum, inside a directory called _preload in the root of the repository.
There is a (large) possibility of you running into error message, warnings, etc. in this process. Don't worry too much about them; the ones that will stop the import of the data to the database will stop you in your tracks with a red error message. Everything else is on a "warning" level, which means that you can safely continue with the process. All of this is described in the debugging part of the documentation.
Once the build command has finished, you can move on to Step 2 below, or read the following section with more detailed information about the build command.
Optional flags
The build command can also be called using flags that modify its function and can be combined as you see fit:
| Flag | Description |
|---|---|
--silent |
Makes as little output as possible, although still saves all the information in log files (see debugging docs). |
--verbose |
Provides all output possible, which can be overwhelming. Good for debug purposes, not for the faint of heart. |
Info
Click here to read more detail about each of these commands and their respective required flags, etc.
Step 2. Ingest the data from your local files: ingest
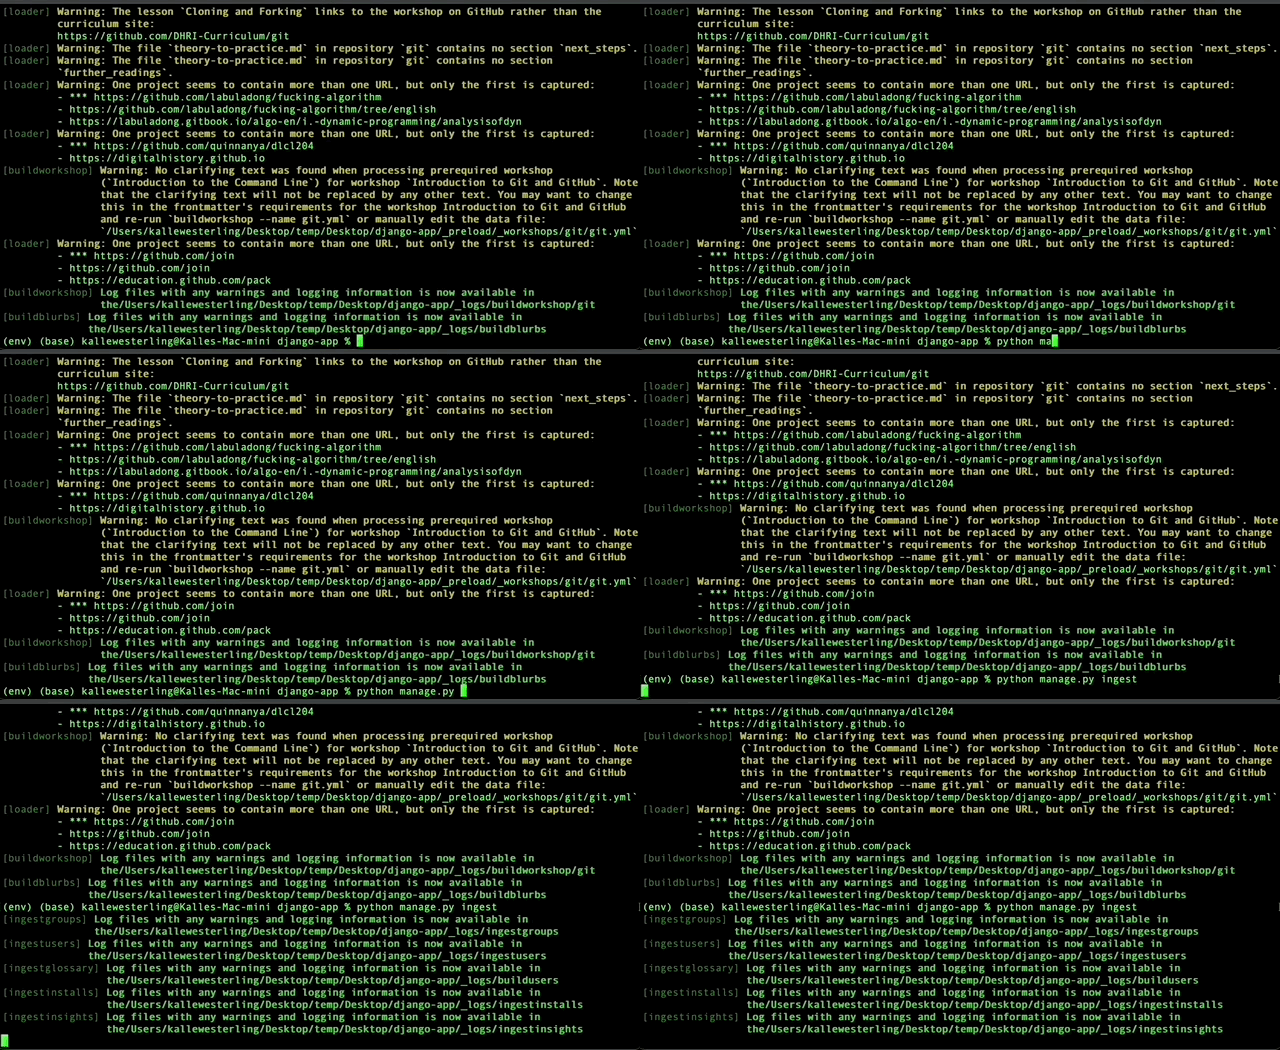
In the following step, we want to ingest the mirrored copy of all of the data that lives in the GitHub repositories, downloaded and structured in Step 1. We can do so with the ingest shortcut command:
1 | |

Granted that you do not run into any problems (warnings, error messages, etc.), the database should now be fully populated with the information necessary to get it all up and running.
Optional flags
The ingest command can also be called using flags that modify its function and can be combined as you see fit:
| Flag | Description |
|---|---|
--silent |
Makes as little output as possible, although still saves all the information in log files (see debugging docs). |
--verbose |
Provides all output possible, which can be overwhelming. Good for debug purposes, not for the faint of heart. |
--reset |
Removes all the DHRI-related objects in the database and starts a fresh installation. |
--resetusers |
Removes all the users in the database and starts a fresh installation from the users.yml file. |
--force |
Automatically selects "yes" for questions about whether database objects should be updated. "Forces" its way. |
Info
Click here to read more detail about each of these commands and their respective required flags. All of this is described in the debugging part of the documentation.