3. Running the instance locally
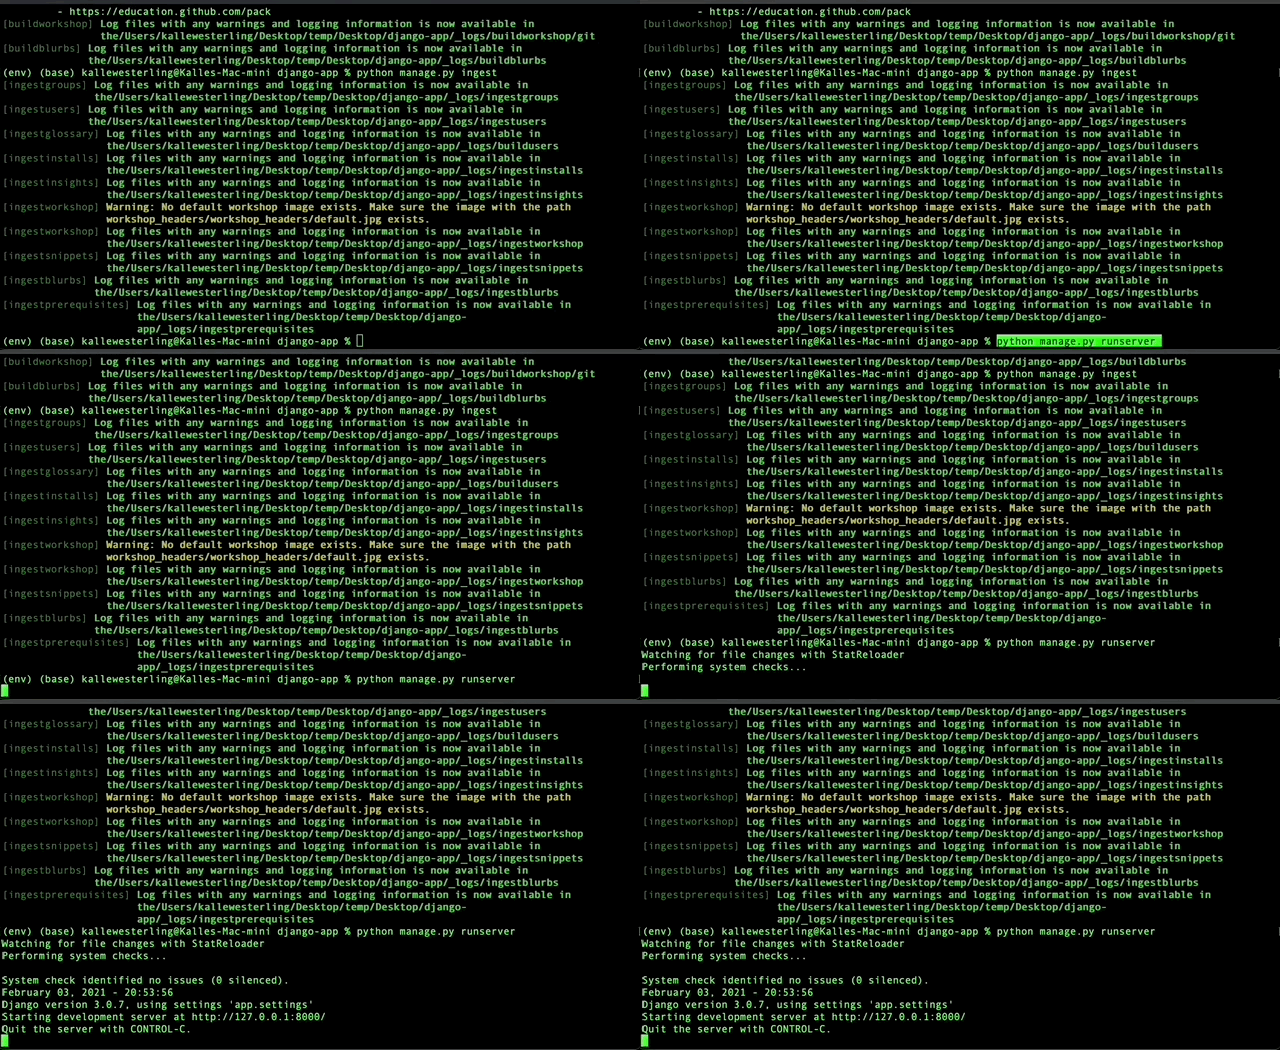
You are now all done. You can run the server by running this command:
1 | |
This command automatically create a development server for you, and you should be able to now navigate to http://localhost:8000 (or its alias http://127.0.0.1:8000) in any browser of your choice on your computer.

Note that your local "server" here will not be accessible on the Internet, or on your local network. For the latter, follow the instructions below. If you want to host the site on a public-facing Internet server, you need to deploy the application to a service that provides support for Django applications, such as Reclaim Hosting.
Optional: Enable Access on Local Network (Advanced)
If you want to make your development server accessible through your local network, instead of running the runserver command from the section above, you can run the custom-made following command:
1 | |
The result will look similar to that of runserver above, but your address now notably is 0.0.0.0. If your computer's local IP address on your network is 192.168.1.6, for instance, you can now navigate to that IP address from anywhere on your local network to access the curriculum website.
Note that localserver is a custom-made script for the backend app here, and not a native Django command.
Optional: Adjust Settings
The localserver command might give you a warning that notifies you that '*' has been added to ALLOWED_HOSTS. You can let this warning be or choose to rectify the "problem." You will do so by following these two steps:
-
Open the file
app/settings.py -
Find the line that reads:
ALLOWED_HOSTS = []and change it to:ALLOWED_HOSTS = ['*']
Next time you run the localserver script on your command line, the warning will not appear.